Cool Blue
Words
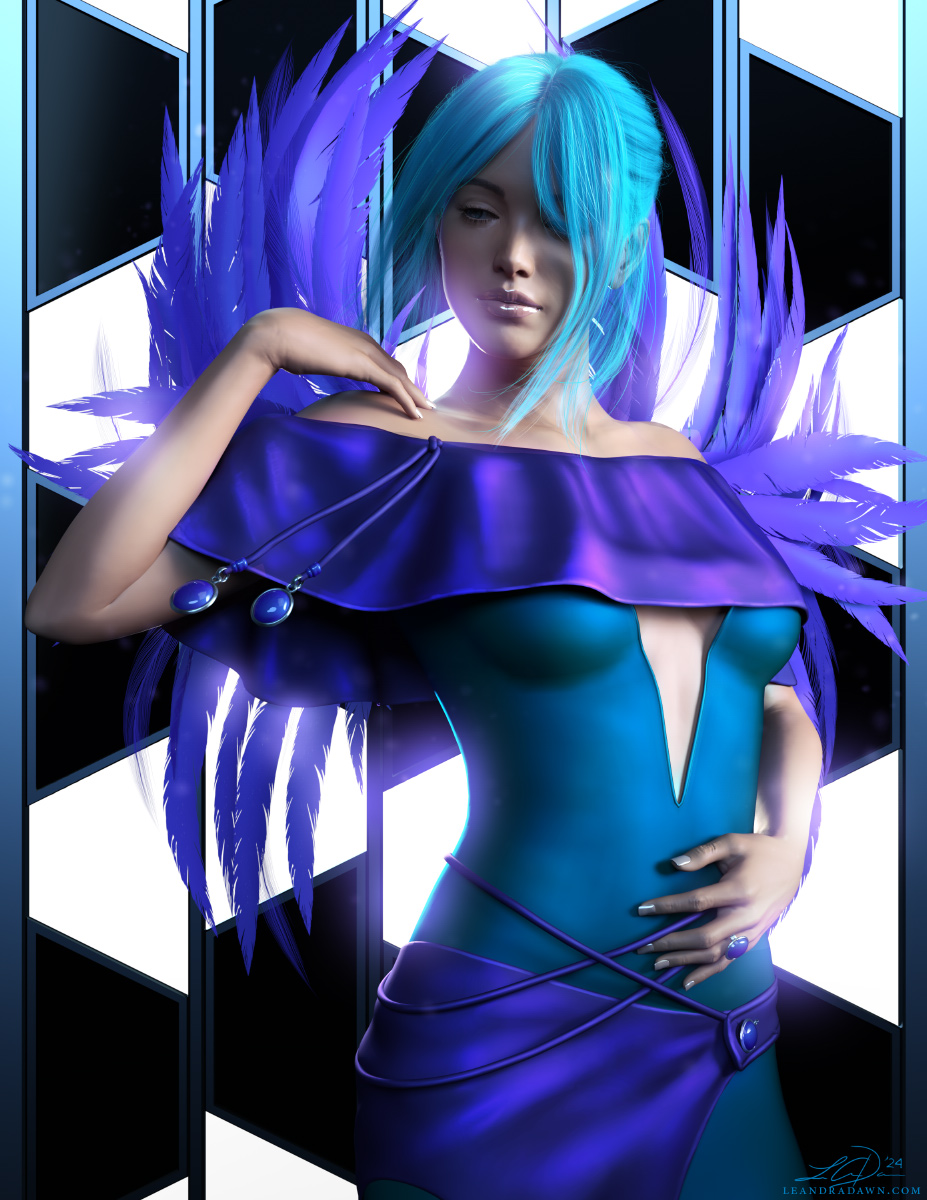
I’m a big fan of a lot of different styles of art and I’m always experimenting to try to achieve new looks in Daz Studio. That’s what I was going for with this one. I’m not sure I achieved what I was looking for (whatever that was), but I still like how it came out.
I achieved this look by removing almost all texture maps (except transparencies and eyes). The color and shading uses shaders only. If I were to try this again, I might keep bump or normal maps to give it added variety and detail. But I think I wanted something smoother and stylized. I’m still trying to achieve a stylized look in Daz, but I think a lot of that style has to do with the textures themselves as well as lighting. So another experiment I could try would be using gradient or two-toned shaders or custom texture maps to try to achieve that style.
Other notes: I had a little bit of difficulty getting the background prop straight with the rest of the image because of the camera angle. I didn’t really want to change the camera angle and rotating the prop proved annoying. And I couldn’t get it perfect. To solve this, I lined up the prop with the camera, then moved the camera into position. You can see the steps on how I did it below.
Straightening a Prop to the Camera
- Create a new camera.
- Line the prop up in the camera viewport as much as you can so that it’s straight in the frame. Zeroing the camera (zeroing, not resetting!) and the prop may help, then adjust as needed.
- Parent the prop to the camera.
- Copy your original camera settings and then paste onto your new camera.
- You may have to move your prop forward or back to fill the frame or look correctly for what you are going for.
Product List
- DMs WHITE Spring – Collection 7 – https://www.renderosity.com/marketplace/products/145762
- Addy Lyla for Genesis 8 Female – https://www.daz3d.com/addy-lyla-for-genesis-8-female
- Artissane Jewels – https://www.renderosity.com/marketplace/products/95289
- HDRI PhotoShoot – https://www.daz3d.com/hdri-photoshoot
- Ultimate Natural Bend Morphs for Genesis 8 Female – https://www.daz3d.com/ultimate-natural-bend-morphs-for-genesis-8-female
- Skin Folds & Creases HD for Genesis 3 & 8 Female – https://www.daz3d.com/skin-folds–creases-hd-for-genesis-3–8-female
- Beauty Fingers and Toes – https://www.daz3d.com/beauty-fingers-and-toes
- (via X-Transfer https://www.daz3d.com/xtransfer–genesis-3-to-genesis-8-converter)
- Dia de los Muertos – https://www.daz3d.com/dforce-dia-de-los-muertos-outfit-for-genesis-81-females
- Daedrah Outfit – https://www.daz3d.com/dforce-daedrah-outfit-for-genesis-8-females
- X-Fashion Crow Lace Wings – https://www.daz3d.com/x-fashion-crow-lace-lingerie-outfit-wings-for-genesis-8-and-81-females
- Mega Updo Hair 2 – https://www.daz3d.com/mega-updo-2-hair-for-genesis-8-and-81-females
- Genus Unknown – https://www.daz3d.com/dforce-genus-unknown-outfit-for-genesis-8-females